
Running a 1099 report in QuickBooks Desktop helps report independent contractor payments accurately. Filing this report by January’s end is mandatory as per the IRS. To be IRS-compliant and prepared for tax filing, you need to know how to run a 1099 report in QuickBooks Desktop.
In this comprehensive guide, we will walk you through the steps to run a 1099 report in QuickBooks ensuring that you can easily comply with IRS requirements.
Importance of 1099 Reports in QuickBooks.
Understanding the need for 1099 reports is vital before running them in QuickBooks. Payments exceeding 600 dollars must be reported to the IRS by businesses. Payments are reported with Form 1099 for tax tracking and compliance.
QuickBooks 1099 reports help identify reportable contractors and vendors, simplifying form filing. QuickBooks makes 1099 reporting easy with tools for vendors, payments, and reports.
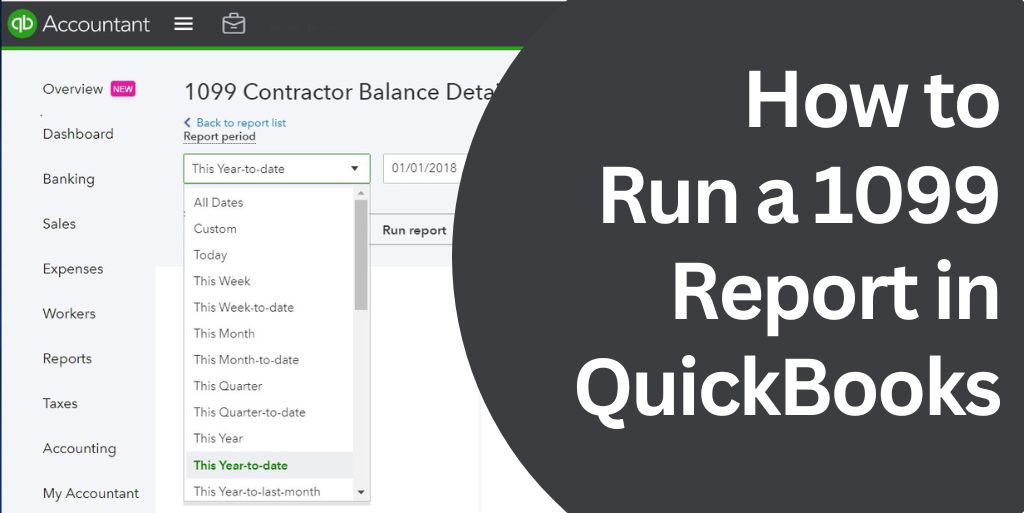
How to Run a 1099 Report in QuickBooks Desktop?
Running a 1099 report in the program involves a few simple steps. Let’s walk through each step in detail on how to run reports in QuickBooks Desktop:
Step 1: Turn on the 1099 Feature
- The first step is to ensure that the 1099 feature is turned on in QuickBooks Desktop. Here’s how to do it:
- Navigate to Edit tab on QuickBooks Desktop.
- Pick Preferences from the dropdown.
- Select Tax: 1099 in Preferences.
- Navigate to Company Preferences tab.
- Select “Yes” for 1099-MISC filing.
- Save settings by selecting OK.
Enabling the 1099 feature allows QuickBooks to generate reports and track payments made to contractors and vendors.
Step 2: Ensure Proper Vendor Setup
Proper vendor setup is crucial for accurate 1099 reporting. Follow these steps to ensure that your vendors are set up correctly:
- Click Vendors on the QuickBooks menu bar.
- Pick Vendor Center from the menu.
- Edit eligible vendors’ information by double-clicking on them for 1099 reporting.
- Confirm the vendor’s name and address.
- Verify the tax ID on the Tax Settings tab by clicking on it.
- Mark the box for vendor’s 1099 eligibility.
- Request the vendor to complete IRS Form W-9 in case they haven’t provided their tax ID.
Step 3: Set up Expense Accounts
To categorize payments accurately and generate comprehensive 1099 reports, you need to set up expense accounts in QuickBooks. Follow these steps to set up your accounts:
- Select Vendors from the top menu.
- Select 1099s from dropdown for print/e-file.
- Choose 1099 Wizard.
- Select vendors to create the form by checking the box next to their names.
- Proceed by clicking Continue.
- Check vendor info and update if needed.
- Select “Show all accounts” from the drop-down menu labeled “Show 1099 accounts”.
- Apply expenses to the appropriate 1099 box.
- Proceed by clicking Continue.
- Check 1099 report payments.
- Continue by clicking the button.
- Choose either a Summary or Detail Report at the Confirm your 1099 entries window.
- Proceed by clicking “Continue” or find the 1099 Summary report at Reports > Vendors & Payables > 1099 Summary.
- To print the 1099s, use pre-printed forms. Or, if satisfied, use the Go to 1099 E-File Service option.
Step 4: Run the 1099 Report
Once you have completed the above steps, it’s time to run the 1099 report in QuickBooks Desktop. Follow these instructions:
- Go to the Reports menu in QuickBooks Desktop.
- Select Vendors & Payables from the dropdown menu.
- Choose either the 1099 Summary or 1099 Detail report, depending on your needs.
How to Run a 1099 Report in QuickBooks Online?
If you are using the online version, the process on how to run a 1099 report in QuickBooks online report is slightly different. Here’s how you can do it:
Step 1: Verify Vendor Information
Before generating a 1099 report in QuickBooks Online, you need to verify the information for each vendor. Follow these steps:
- Navigate to QuickBooks Online’s Business Overview section.
- Choose Reports from the left navigation bar.
- Go to Expenses and Vendors and click on Vendor Contact List.
- Customize the report by clicking on Customize.
- Choose Change columns under Rows/Columns.
- Choose Track 1099.
- Click on the “Run Report” button.
Step 2: Set up Expense Accounts
Similar to QuickBooks Desktop, you need to set up expense accounts in QuickBooks Online to accurately categorize payments. Follow these steps:
- Access QuickBooks Online’s Workers tab.
- Pick Contractors from the dropdown.
- Click to prepare 1099s.
- Begin the setup by clicking Let’s get started.
- Provide business name, address, and IRS tax ID.
- Proceed by selecting Next.
- Pick Box 7 for Nonemployee Compensation and select the expense accounts used for payments.
- Click on Next.
- Confirm contractors’ tax ID and email are recorded.
- Update the list with missing information or new vendors.
- Click Next after verification.
- Box 7 screen shows contractors with $600+ payments via ACH or debit card (not credit card).
- If using a third-party payroll system or reporting to your accountant, click Save and Finish Later to exit the setup screen.
Step 3: Generate the 1099 Report
Now that you have completed the necessary setup, it’s time to run the 1099 report in QuickBooks Online. Follow these instructions:
- Access QuickBooks Online Reports.
- Find Expenses and Vendors under Standard Reports.
- Choose the 1099 Detail Report.
- Export the report as PDF or Excel.
Understanding how to run a 1099 report in QuickBooks is a crucial step in accurately reporting payments made to contractors and vendors. By following the step-by-step guide outlined in this article, you can generate comprehensive 1099 reports in both QuickBooks Desktop and QuickBooks Online.
Frequently Asked Questions
Yes, you can run a 1099 report in QuickBooks Desktop.
In QuickBooks Desktop, enable filing 1099-MISC forms by checking the box in Edit > Preferences > Tax: 1099 > Company Preferences.
Check vendor info: name, address, tax ID, 1099 eligibility. Ask vendors to fill out Form W-9 if necessary.
No, you need separate expense accounts for each form.
Find 1099 Summary or Detail under Reports > Vendors & Payables.
Yes, you can generate 1099 report in QuickBooks online.
QuickBooks Online provides the 1099 Transaction Detail Report for payment details.
Check QuickBooks’ guide for fixing missing contractors or incorrect 1099 amounts.
Change the date range in the report’s Dates section.
For more information, visit the QuickBooks website, consult IRS publications, or seek advice from accounting professionals.
No, you need to create separate general ledger expense accounts for each form.
Create a new account for 1099-NEC vendors in QuickBooks’ Chart of Accounts.