
It is important to reconcile the payments of QuickBooks and Shopify for maintaining correct financial records. For businesses, this can hold immense importance since the details of cash flow should be available at hand. You can identify how to reconcile Shopify in QuickBooks manually as well as automatically. Both ways are suitable in different situations for companies.
Since this process will properly categorize your transactions, it will be suitable to match them via this accounting software. It will additionally give you the chance to verify whether or not any incorrect entries are added to the software or QuickBooks Online. By removing these, your account balance will remain accurate.
Reasons to Reconcile QuickBooks and Shopify
For any business, it is important to make certain that correct bookkeeping practices are followed. Reconciling the transactions of accounts like Shopify with QuickBooks is a part of these. The right financial details of a business can be accessed with their reconciliation.
Let us also get familiar with additional reasons pertaining to matching the financial records:
- As you reconcile Shopify payments in QuickBooks, accounting errors will be reduced.
- Transactions can be matched and repetitive/faulty entries can be avoided.
- Updated information regarding payments can be availed of at hand.
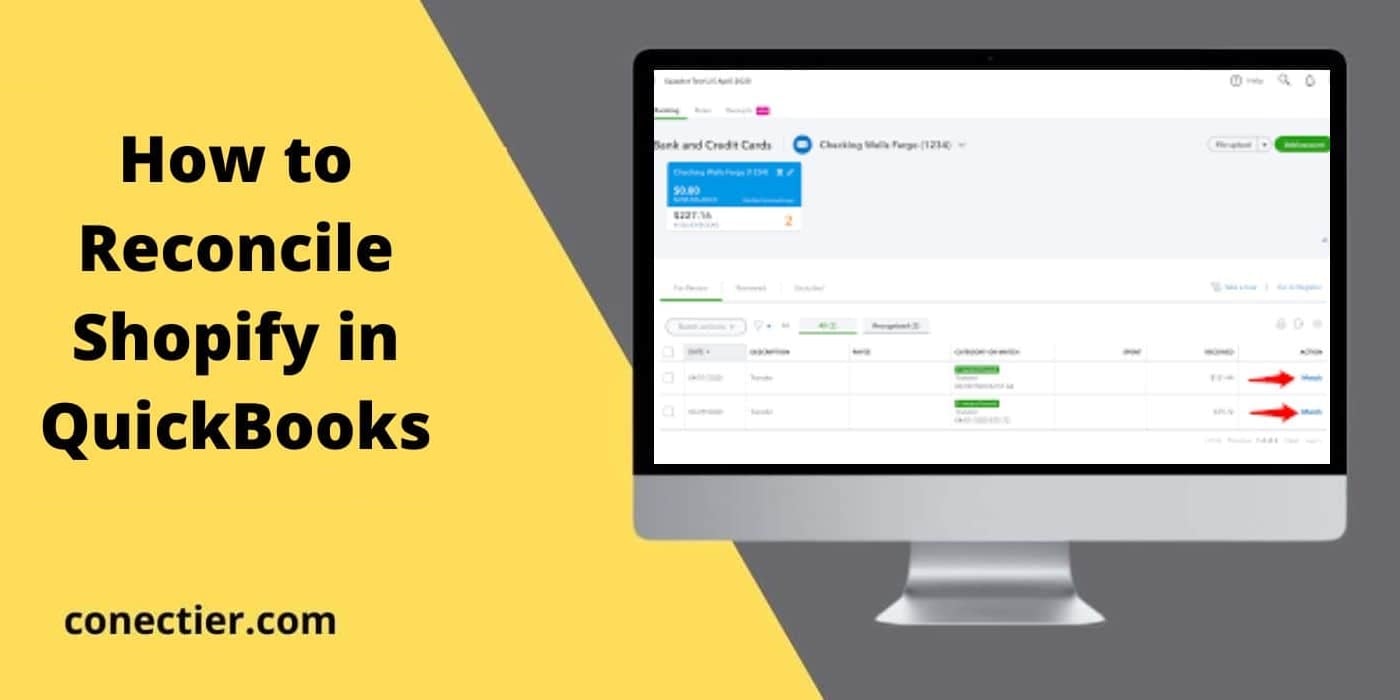
How to Reconcile Shopify Payments in QuickBooks?
You can automate the process of reconciliation between the QuickBooks software and Shopify. While integration between the 2 spaces is an important requisite, you will also require the knowledge of the correct bank account used by Shopify. In addition, without the Ending Date of the reconciliation done previously, you may not be able to use this method.
Provided that you have collected all the crucial information, read here to understand how to reconcile Shopify payments in QuickBooks.
- Step 1 involves running “QuickBooks” on your system.
- Check the “Settings” of the software.
- Find “Tools” here.
- Tap on the option named “Reconcile”.
- You will be asked to pick 1 bank account.
Note: Please carefully select the account. On the basis of this, further information will be displayed.
- Mention “Ending Date” when asked.
Note: While entering this date, see to it that the one relating to the last reconciliation of the same account is selected.
- You will find more instructions on your screen. Perform them one by one.
- Eventually, the option to compare the payments of “QuickBooks” and “Shopify” will be available. Use it to complete this method.
Tip: This process may bring to the surface that certain payments/transactions have been incorrectly added or synced. You can manually rectify those entries. Then you can go through the reconciliation process once again. In the final analysis, the results obtained are likely to be accurate.
How to Reconcile Shopify in QuickBooks Online?
Automated and manual reconciliation is available for QuickBooks Online users. In the case of the former one, the software’s Banking feature will play an important role. Should you be going ahead with the second one, then the categorization and review process will be executed. Prior to deciding how to reconcile Shopify in QuickBooks Online, please be familiar with the details of both methods. Then based on what information you have, you can rightly perform one method.
Method 1: Automatically After Integration
When you have integrated Shopify together with QuickBooks Online, the process will auto-sync your information. This will be inclusive of your payments. Given that the synchronization has been successful, you can move ahead with the reconciliation process. This will be initiated through the section called Banking in the Intuit accounting software.
On ensuring that the eCommerce platform has been properly synced with the software, please do the following:
- Move to “All Sales” after you open “QuickBooks Online”.
- Go through all the payments synced from “Shopify” to this software.
- Then open the payments added to the accounting software.
- Begin comparing the records of both platforms in “Reports” as well as “Finances”.
- After this is complete, you have to visit “Banking”.
- Please choose another tab called “Banking” under this.
- Find that bank account in which the eCommerce platform stores the payments.
- Then choose the payments.
- Hit the button called “Add”.
Method 2: Manually via QuickBooks Online Settings
As opposed to the automatic process, users can manually reconcile this software with Shopify. This will ensure better control over the values being matched. How to reconcile Shopify in QuickBooks Online manually will require that you find the transactions of the sales platform in a bank account. Then you can categorize the entries when required and start reconciling until the difference found is zero.
- You need to find the “Gear” icon or “Settings” button in the software.
- On pressing it, you will be able to see “Reconcile”. Press the option.
- Hit “Get Started” only when this process is new to you.
- Come to “Accounts”.
- From its menu, you have to opt for “Checking Account”.
Note: Select only that account that is required for reconciliation purposes.
- Below this account, you will see the beginning balance. Tally its amount with the one mentioned on the statement of the bank. Provided that the balance is correct, you can move further. Otherwise, you can make edits to it.
- Mention information in both fields:
- “Ending Date”
- “Ending Balance”
- This is an important step to reconcile Shopify in QuickBooks Online. Push the button with “Start Reconciling” written on it.
- “QuickBooks Online” will take you to the page for reconciliations. This page will show your payments. Review all of them and tally the values with your bank statement.
- Next to all payments, checkboxes will be seen. Tick all of them. Any transactions that are unavailable in the statement will not be selected.
Note: When multiple transactions are available in Shopify and QuickBooks Online, manually reviewing them with the statement can take longer. You may categorize them by choosing either “Deposits” or “Payments”. Otherwise, with “Filter” as well, you can simplify the categorization process.
- Continue tallying and selecting your transactions. You can stop when the final difference is “0”.
- Hit “Finish Now” after this. If any alterations are to be made, then use “Edit Info”.
- In the next step, wait till you find a message that verifies successful reconciliation.
- Your understanding of how to reconcile Shopify in QuickBooks Online will be complete here. Should you require printing the reconciled results, then you may hit the button “View Reconciliation Report”. This report can be printed.
- Select “Done” after printing/attaining the expected results.
On a Final Note
Processes like Shopify payments reconciliation may be skipped considering that they may seem complex. Having chosen software like QuickBooks, this particular process only gets simplified. You can automate it or do it on your own in the software. It supports both ways. Thus, payments can be conveniently tallied for recording accurate information.
FAQs- Why and How to Reconcile Shopify in QuickBooks Manually/Automatically?
QuickBooks users can reconcile Shopify payments. They will need to have their accounts set up on both platforms. Then they can use an automatic process to tally their payments with their bank statements.
To reconcile Shopify in QuickBooks is to tally the payments entered in both platforms. This process helps you identify whether there are any faults in the payments’ values. Even if there are, then you can rectify them during this process.
Bank statements are essentially required when matching the transactions of QuickBooks and the Shopify platform. You will also need the Ending Date. During the process of reconciliation, Ending Balance can also be asked for.
On suspecting that your Beginning Balance is incorrect, you should reconcile/match the transactions of Shopify and the accounting software. To update your financial records as well, doing so will be helpful.
In “All Sales” in this software, you will see every payment synchronized via Shopify. From here, you can progress to “Banking”. This section will assist you in auto-reconciling QuickBooks Online with the eCommerce platform.
For reconciliation in QuickBooks, the Ending Date is highly important. You need to ensure that it is correct and relates only to the final reconciled process. In case this is not made certain, matching the transactions of the software and Shopify may not correctly take place.
When the integration of QuickBooks and Shopify has been successful, both accounts will be connected. Then their payments will be combined. After this, it will be easier to reconcile them. Therefore, prior to finding out how to reconcile Shopify payments in QuickBooks, you should check whether this integration has taken place.
At the end of the reconciliation procedure, the final difference should be 0. When this is the value attained by you as well, you can be sure that Shopify and the accounting program have been correctly reconciled.
After understanding how to reconcile Shopify in QuickBooks Online, you will receive the correct transactions in the end. The software will display the option of “View Reconciliation Report”. Apart from viewing, it will also let you print the report of transactions.