
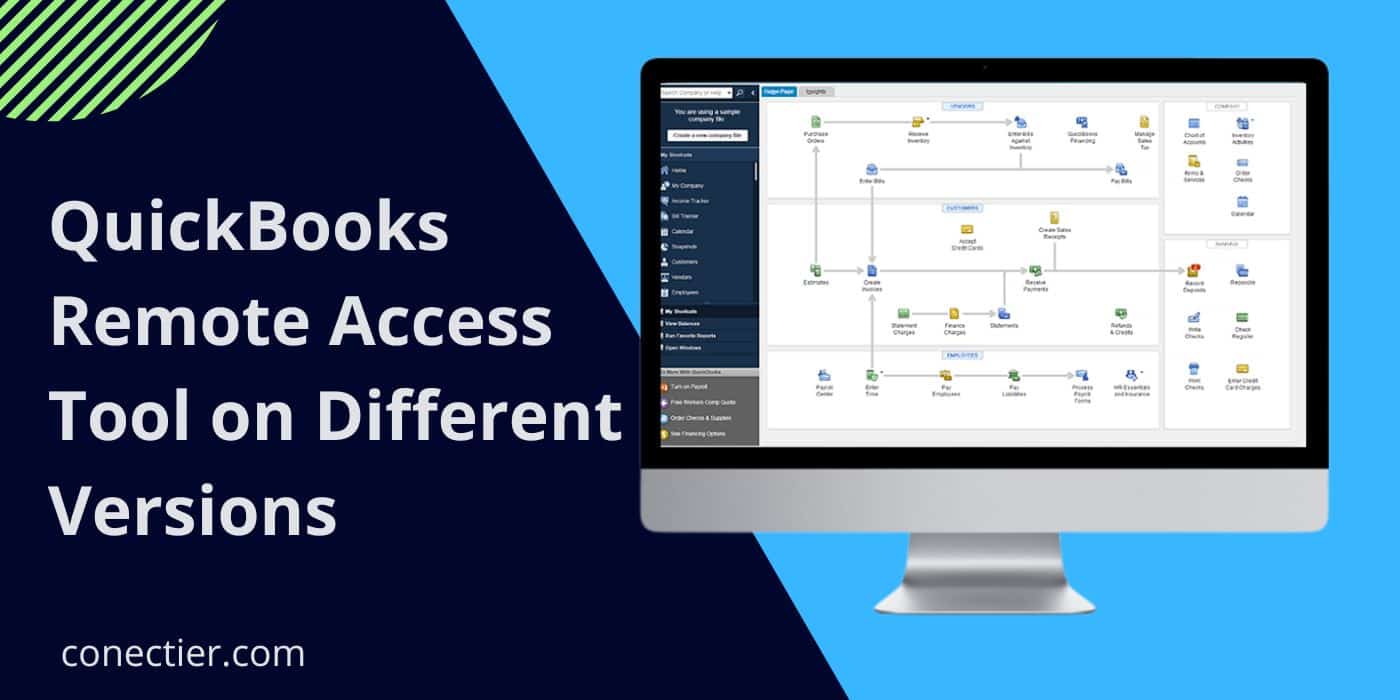
At times, due to certain requirements, you may want multiple users to run QuickBooks’ files and folders. However, this purpose may not be achieved in case you or the users do not have proper tools installed on the system. Hence, to provide users with this benefit and numerous others, the QuickBooks remote access tool has been developed. This tool can be located through the Intuit webpage. Once installed and activated, it allows you to print the files of the accounting program by transferring them from one computer to another. It should also be noted that this feature can only be availed of by purchasing one of the plans as per your requirements.
- Advantages of Using QuickBooks Remote Access
- How can You Access QuickBooks Remotely?
- How to Access QuickBooks Desktop Remotely?
- Method 1: Through the Intuit Website
- Method 2: Using the Connect Button
- Method 3: Accessing Company File in QuickBooks Desktop
- How to Access QuickBooks Enterprise Remotely?
- How to Gain QuickBooks Remote Access on Mac?
- How much Does QuickBooks Remote Access Cost?
- FAQs- QuickBooks Remote Access
Advantages of Using QuickBooks Remote Access
You may sometimes have to work from a different place and at an odd time. When you have basic accounting software, it may not be of use in the said situation. Hence, when such a situation occurs, you should make use of the Intuit QuickBooks Remote Access tool. Connecting to this tool allows the users to access the program from anywhere in the world whenever they want.
The QuickBooks Remote Access feature provides the users with many other advantages which have been listed down below:
- You can easily transfer files and folders between two workstations.
- Users can keep a track of the operations carried out by their accountants.
- Your important items can be copied and pasted among the other connected systems by using the remote access tool.
- Remote access to QuickBooks company files can be expected in every instance, regardless of a user’s location.
- When using a remote computer, documents can be printed as well.
How can You Access QuickBooks Remotely?
Users can access their QuickBooks program remotely. To do so, they will have to register for Remote Access via the Intuit homepage. Once this is done, the webpage of this tool has to be opened through the browser you have. You need to log in using the credentials you used during the sign-up. After some more directions, you will be able to gain remote access to QuickBooks via the said tool.
- Move to the website of Intuit.
- From here, you will have to navigate to the QuickBooks remote access Login Page. Now, either you can log in or sign up for this service.
- Then head to the web browser from where the remote access can be used.
- Visit the QuickBooks Remote Access Sign-in Page again and fill in the required details.
- For downloading the remote tool, the button “Setup Computer” has to be chosen.
- After the file gets downloaded, navigate to the section of “Downloads”. Tap twice on the file to install the tool. Once installed, launch it.
- Locate the field named “Nickname” and provide a name.
- Then opt for “Next”.
- Place a tick beside the following options:
- “Use Full-Screen View by Default”
- “Make This Computer’s Screen Black”
- “Automatically Reduce Screen Resolution to Match”
- “Disable This Computer’s Keyboard and Mouse”
Note: You can even choose the other applications for accessing them remotely. However, you need to pick the accounts related to “QuickBooks”. Choosing only this account will cost you a minimum purchase fee every month. In case you want to opt for all the other features available for QuickBooks multi-user remote access, slightly higher charges have to be paid.
- After you have selected the appropriate option, hit “Next”.
- Then you will have to put a checkmark on the boxes for the following options for authenticating the tool:
- “Enter a Passcode”
- “Use a Phone Number”
- Once you select the type you want, press “Finish”.
- Now, through the browser installed on the system, visit the “Remote Access” website.
- Sign into it and mark the checkbox beside “Computer Nickname” that you provided earlier.
- From the column of “Action”, the “Connect” tab needs to be clicked on.
- Mention the credentials of the authentication you had chosen.
- Head to the pull-down menu and opt for “Remote Access”.
- In the end, you have to press the “End QuickBooks Remote Access Session” option for using the feature.
Assuming that you have followed every step given above, only then can QuickBooks be accessed remotely. In case, after ending the session, the access is getting denied, check whether the authentication was successfully done. Also, ensure that the correct nickname was selected in the process.
How to Access QuickBooks Desktop Remotely?
Running the tool for QuickBooks Desktop remote access becomes easier when logged in from the webpage of Intuit. For those who have already signed up for this feature, using the Connect tab to directly link the accounting program to the tool for remote purposes can be beneficial. Users can even have multi-user remote access to their company files in QuickBooks Desktop through the File tab.
Method 1: Through the Intuit Website
The website of Intuit helps users in carrying out all the tasks related to the accounting program. One of the most notable features of this site is its function for the Remote Access tool. You simply need to sign up for this feature using the required information. Following this, the Setup Computer option has to be chosen. You also have to mention a name for the account in the panel of Nickname. This will initiate the setup further.
The steps outlined below will let you understand how to find and use the remote access QuickBooks Desktop tool:
- Go to the webpage of “Intuit”.
- Then you will have to register for the “QuickBooks Remote Access” tool present on this site.
- After the sign-up process is complete, log in to the remote access account.
- Fill in the “Email Address” and the “Password” as well as choose the “Sign In” button
- The installation file of the QuickBooks Desktop remote access tool is required to be downloaded.
- Now, opt for “Setup Computer”.
- Type a name for the PC in the field of “Nickname”.
- Choose “Next” in this step.
- Afterward, a tick-mark has to be put beside the checkboxes for these options:
- “Automatically Reduce Screen Resolution to Match”
- “Use Full Screen View By Default”
- “Make This Computer’s Screen Blank”
- “Disable This Computer’s Keyboard, and Mouse”.
- From the options given for choosing the applications which have to be used remotely, tick “QuickBooks”.
- Select “Next” to start the remote access for QuickBooks Desktop.
- To begin the process of account verification, look for the option that suits you the best. You can either opt for the option “Enter a Phone Number” or the “Enter a Pass Code” checkbox.
- Then click on the “Finish” button. Your QuickBooks Desktop program can now be accessed from anywhere you wish.
Method 2: Using the Connect Button
When you have already signed up for remote access for QuickBooks Desktop, utilizing the Connect tab can be effective. This tab lets you use this tool without carrying out a multitude of directions. It will work through a password. You can receive it on your mobile and then move further to using the remote access feature.
- Visit your web browser from the PC you’ll be using to work remotely.
- From here, navigate to the “QuickBooks Remove Access” website and sign in using your proper credentials.
- Locate the box of “System Nickname”.
- Then opt for the “Connect” button.
- A password will be received on your registered mobile number. Enter it when required.
- The “Remote Access” list in the form of a drop-down has to be clicked.
- Complete the procedure by opting for the “End the QB Remote Access Session”.
You can now make use of QuickBooks Desktop remote access. In this short duration, the tool will get connected to your account and be ready for utilization.
Method 3: Accessing Company File in QuickBooks Desktop
When having multiple workstations, numerous users can work on the same company file. However, you may not be able to do so if the remote access feature has not been turned on. Thus, to provide remote access to the QuickBooks Desktop company files, you need to begin by choosing the File button. This will be followed by selecting the Switch to Multi-User Mode tab. From here, you will be directed to avail yourself of the tool for remote access to QuickBooks Desktop.
- Open “QuickBooks Desktop” and locate the “File” tab from its menu.
- Choose the “Switch to Multi-User Mode” feature.
- When the window of “Multi-User Hosting Setup” appears, opt for “Yes”.
- The “Ok” tab has to be pressed on the screen of “Multi-User Setup Information”.
- The “Company Options” needs to be clicked here.
- After this, you will have to pick the “Add Necessary Users” button for including the users required.
- Click on “Setup Users and Roles” and afterward hit the “New” button.
- Close the window and visit the “Control Panel”.
- Then press the “Network and Sharing Center” option.
- Move ahead by tapping on “Change Advanced Sharing Settings”. Only after this can you access QuickBooks Desktop remotely and with success.
- Select the arrow beside “Guest or Public (Current Profile)”.
- Following this step, choose the “Turn on Network Discovery” tab located below “Network Discovery”
- Further, move to the “Password Protected Sharing” section.
- Here, you are required to pick the “Turn Off Password Protected Sharing” tab.
- Press “Save Changes” now.
- Move ahead to launch the “QuickBooks Desktop” software.
- Then the “File” and the “Open or Restore Company” buttons have to be selected, respectively.
- Once the “No Company Open” window is displayed, head toward the “Open a Sample File” option.
- The company data file’s address has to be browsed.
- While browsing the QuickBooks company file location, you need to opt for the file having the extension “.qbw”.
- Click on “Open” now.
- To complete this procedure, you will have to fill in the “Username” and the “Password”.
How to Access QuickBooks Enterprise Remotely?
At times, you may have a requirement for transferring the QuickBooks files from one PC to the other. This can only be possible when you know how to access QuickBooks Enterprise remotely. In case you don’t, you need to commence the process by visiting the homepage of Intuit. From the site, you will gain an understanding of how the remote access tool has to be availed.
- On the Intuit website, you will get to see the “Remote Access” option. It has to be signed up for using QuickBooks Enterprise remote access.
- Once signed up, close the window and search for the “QuickBooks Remote Access” site through your web browser.
- After the page opens, log in to it and hit the “Setup Computer” tab then.
- The installation file of the tool has to be downloaded then.
- After this, tap twice on the downloaded file.
- When it opens, type a name in the panel of “Nickname” and choose “Next”.
- Further, an authentication method has to be selected. You will be given choices among entering a password or a mobile number.
- You will then be asked to tick the apps that you want to connect.
- Here, select only the option of “QuickBooks” as this will cost a minimal fee.
- Click on “Next” and “Finish”, respectively.
- Then you can move on to exercising the QuickBooks Enterprise solutions remote access tool.
How to Gain QuickBooks Remote Access on Mac?
Users operating on Mac systems can take advantage of the QuickBooks remote access feature. To make the tool functional, you need to first purchase the license for multi-user access. Given that it has been purchased, multiple users can be added to that network. Afterward, through the QuickBooks Server, as well as the correct username and password of every user, the remote access tool can be set up.
- Move to “QuickBooks” on your Mac.
- Then press the “Manage License” button to operate QuickBooks for Mac remote access.
- Next, you will have to opt for the “Buy Additional Licenses” option.
- For purchasing additional licenses, you need to go through the prompts coming up on the window.
- Navigate to the option of “QuickBooks” again.
- Hit “Manage Licence” in this step.
- Now, the “Sync License” tab has to be selected.
- Go to each of the workstations and install the accounting software.
- After doing so, the “QuickBooks Server” has to be installed on the PCs.
- The password and also the username of the other users have to be kept aside safely. To do so, press the “QuickBooks” option.
- The “Preferences” or the “Company” button is required to be clicked.
- Pick “Users and Passwords” now.
Once you completed the above steps accurately, move through the procedure provided below for starting the QuickBooks Mac remote access process. The multi-user mode has to be set up now:
- The folder of “Multiuser” is required to be opened.
- The icon of “QuickBooks Server” needs to be dragged to the folder named “Applications”.
- In case prompts come up for modifying the folder of “Applications” then you need to pick the “Authenticate” tab.
- Mention the username of the “Admin” as well as the password and choose “Ok”.
- The “QuickBooks” program has to be opened then.
- Further, move toward the company data file and launch it.
- Tap on the “File” button in this step.
- Finally, hit the “Enable Multi-User Mode” option.
The installed QuickBooks server will then begin automatically. Once the QuickBooks remote access for Mac gets enabled, the company file can be used from any system. To do so, you simply need to go to the No Company Open screen in QuickBooks and look for the file below the list of Shared Files.
How much Does QuickBooks Remote Access Cost?
The QuickBooks remote access cost varies according to the plan you pick. There are basically two types of plans named “QuickBooks Access” and “Full Desktop Access”. Purchasing “QuickBooks Access” for using the software remotely will provide you with the basic features. Alternatively, the “Full Desktop Access Plan” will allow you access to all the available features such as file transfer as well as access to other applications.
The following table will highlight the purchase details of the Remote Access plan:
| QuickBooks Version | Cost of QuickBooks Access Plan ($) | Cost of Full Desktop Access Plan ($) |
| QuickBooks 2016 Remote Access | 49.99 | 99.99 |
| QuickBooks Desktop | 70.95 | 99.75 |
On the Whole
The QuickBooks remote access tool has been created to provide various benefits to the users. When run, numerous added users can operate on a single company file regardless of their location. As this feature is available for different versions of the QuickBooks program, you need to have a look at the method that suits your software. Once you properly follow the procedures provided, the advantages of the remote access tool can be enjoyed.
FAQs- QuickBooks Remote Access
The QuickBooks Webex remote access assists users in utilizing the accounting program from any other system. This can be done at any time. It lets you access your company file, email, and other essential documents as well. Through this remote accessibility, it is additionally possible to transfer files and folders from one PC to another.
QuickBooks remote access has not been discontinued for all the versions of the accounting program. However, Intuit stopped this service on the 31st May 2022 for those using QuickBooks Desktop for the Windows 2019 version.
You can get remote access to QuickBooks company files by installing QBDBSM. Also known as QuickBooks Database Server Manager, it has to be installed on the remote computer. Then you will have to switch on the “Network Discovery” feature. Further, the option of “Password Protected Sharing” has to be turned off. Lastly, your QuickBooks company file has to be located and eventually accessed.
The QuickBooks remote access option is still available for users. You simply need to purchase it from the original website of Intuit. Some amount of fee has to be paid according to the version installed on the system. Once you do so, the benefits of this feature can be utilized.
The QuickBooks remote access costs depend on the plan you choose. The QuickBooks data access can be purchased at a monthly cost of nearly 70.95$. To ensure access to every feature in QuickBooks or any other installed applications on the desktop, a plan can be bought for around $99.75 every month. Those using the QuickBooks Desktop version can use the remote access tool at a cost of $12 monthly.
When users go for remote access in QuickBooks, they can easily carry out their operations on the software from anywhere in the world. In addition to this, multiple users can also gain visibility to the QuickBooks company file with remote access.
You can remotely access the QuickBooks Enterprise program through the official webpage of Intuit. You need to log in over here and then opt for the “Setup Computer” option for downloading the remote tool. Provide a name in the field of “Nickname” and press “Next” to complete the process of QuickBooks Enterprise remote access.
QuickBooks can be accessed remotely with ease. To begin using this feature, you need to first properly download the tool for it. You will have to navigate to the Intuit website to download the remote access tool. After it gets downloaded, you need to set it up. Once done, move to the Intuit homepage again and opt for the “Connect” button to start accessing the said tool.
Users can directly access their QuickBooks Online program remotely. As the software operates through Cloud, you can use it from anywhere and at any time. Apart from this, if you have been using the other versions of the software, then the QuickBooks remote access tool can be installed. They may not necessarily operate via Cloud.